How to Achieve Stunning Summer Nail Designs at Home
Summer is the perfect time to show off your creativity with vibrant nail designs. I love trying out new DIY summer nails at home. It’s exciting to turn your manicure into a personal art piece.
This guide will show you how to make beautiful summer nail designs at home. You’ll learn about the tools and techniques you need. It’s easy and fun to make your nails a colorful canvas that shows off your style and summer spirit.
Table of Contents
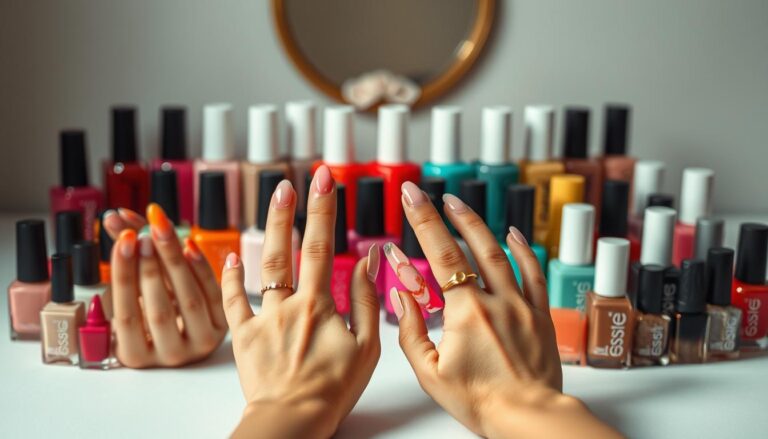
Essential Tools and Materials for DIY Summer Manicures
Creating stunning summer nail designs at home is easy. You don’t need a salon setup. With the right tools, you can make your nails look amazing. This guide will show you what you need to get salon-quality nail art at home.
Basic Nail Care Tools
First, you need basic nail care tools. These tools help you prepare and keep your nails healthy all summer.
- High-quality nail clippers
- Precision nail file
- Cuticle pusher and trimmer
- Base and top coat
- Nail buffer
Professional-Grade Polishes and Products
Choosing the right nail polish is key for lasting summer designs. Look for quick-drying formulas and bright colors.
| Polish Type | Key Features | Best For |
|---|---|---|
| Gel Polish | Long-lasting, chip-resistant | Extended wear |
| Neon Shades | Bright, eye-catching colors | Summer trends |
| Matte Finish | Modern, sophisticated look | Unique nail designs |
Nail Art Tools and Accessories
Take your nail art to the next level with these tools. They help you create detailed designs and add a professional touch to your manicure.
- Thin nail art brushes for detailed patterns
- Dotting tools in various sizes
- Makeup sponges for gradient effects
- Nail striping tape
- Rhinestones and nail stickers
With these tools, polishes, and accessories, you’re set to create stunning summer nail designs. They will make your nails stand out and show off your creativity.
Preparing Your Nails for the Perfect Summer Look
Getting ready for stunning summer nail designs starts with proper nail prep. Your manicure preparation is crucial for creating long-lasting, beautiful nail art. This art can withstand beach days, pool parties, and outdoor adventures.
Summer nail care begins with a thorough cleaning and shaping process. Start by gathering your essential nail preparation tools:
- Nail file with fine-grit surface
- Cuticle remover solution
- Professional nail buffer
- Gentle hand soap
- Moisturizing hand cream
Before applying any polish, focus on creating a smooth nail surface. Gently buff your nails to remove any rough edges. This creates an ideal canvas for your summer designs. Pro tip: Always buff in one direction to prevent nail damage.
Cuticle care is another critical step in nail prep. Use a cuticle remover to soften and gently push back your cuticles. This creates a clean nail bed that helps your manicure look more professional and last longer.
| Nail Prep Step | Time Required | Benefits |
|---|---|---|
| Cleaning | 2-3 minutes | Removes oils and dirt |
| Buffing | 3-5 minutes | Smooths nail surface |
| Cuticle Care | 2-3 minutes | Promotes healthy nail growth |
By dedicating time to proper nail prep, you’ll ensure your summer nail designs look flawless. They will stay vibrant throughout your seasonal adventures.
Popular Summer Nail Designs for Beginners
Summer is the perfect time to explore beginner nail art. You can try vibrant colors and fun designs. These simple nail designs will help you create stunning summer looks right at home.
Starting with summer nail art is easy. With basic tools and creativity, you can turn your nails into art. They can show off your personal style.
Bright and Bold Color Combinations
Summer color combinations are all about making a statement. Try these exciting color pairings to elevate your nail game:
- Coral and turquoise for a tropical vibe
- Neon yellow with soft pastel pink
- Electric blue and crisp white
Simple Geometric Patterns
Geometric designs are great for beginners. They offer a simple way to try nail art. Start with these simple techniques:
- Use tape to create clean, straight lines
- Create triangles with basic scotch tape
- Experiment with dotting tools for circular patterns
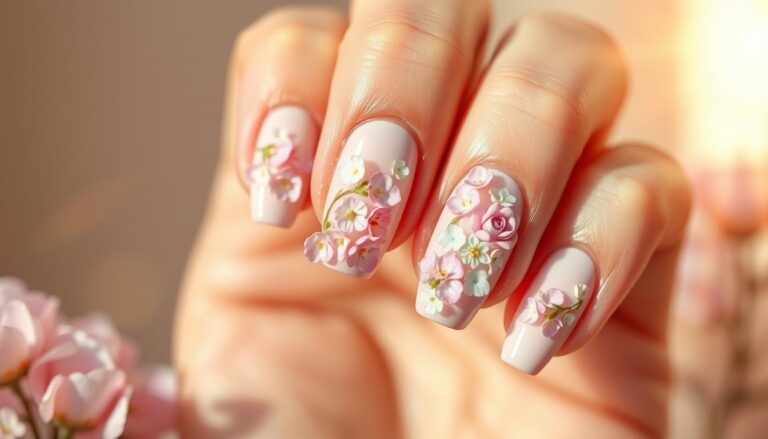
Easy Floral Designs
Floral nail art might seem complex, but it’s achievable with practice. Start with these simple techniques:
- Simple daisy dots using a toothpick
- Watercolor-style flower petals
- Minimalist leaf accents
Pro tip: Always start with a clean, smooth base coat and take your time. Nail art is about enjoying the creative process!
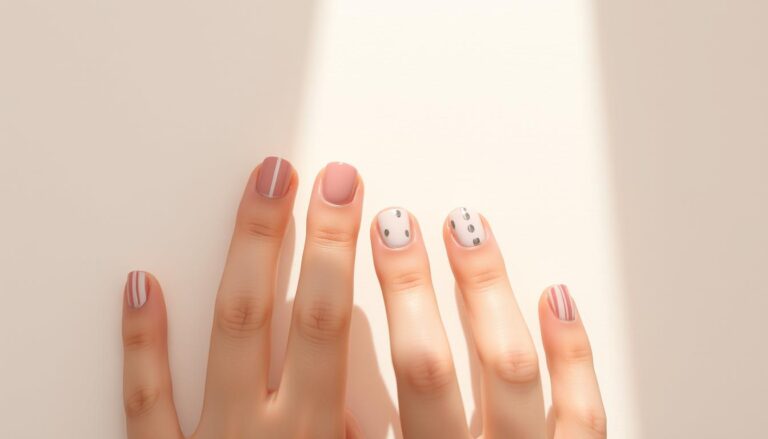
Creating Stunning Short Summer Nail Designs
Short nail designs can be just as exciting and vibrant as longer styles. Your summer manicure for short nails doesn’t have to be boring or limited. With the right techniques, you can transform your petite nail beds into miniature works of art that showcase your personality.
When working with short nails, strategic design choices can make a significant impact. Consider these tips for creating eye-catching short nail designs:
- Opt for vertical patterns that create the illusion of length
- Use bright, bold summer colors to draw attention
- Experiment with minimalist geometric shapes
- Choose designs that emphasize your nail’s natural shape
Color selection plays a crucial role in summer nail art for short nails. Bright neon shades, pastel tones, and vibrant tropical colors can instantly elevate your manicure. Small canvases allow for intricate details and precise application.
| Nail Design Style | Best for Short Nails | Visual Impact |
|---|---|---|
| Vertical Stripes | Creates Length | High |
| Negative Space | Modern Look | Medium |
| Glitter Accents | Adds Dimension | High |
Don’t let nail length limit your creativity. Short nail designs can be just as stunning and versatile as longer styles. With practice and imagination, you’ll discover endless possibilities for your summer manicure for short nails.
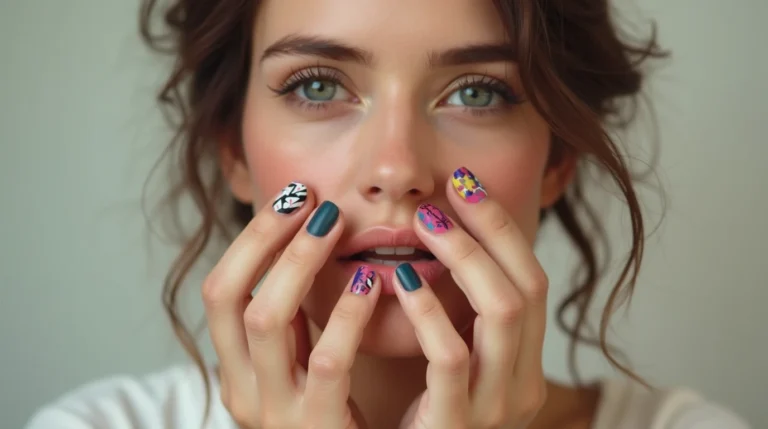
Mastering Abstract Nail Art at Home
Ready to unleash your creativity with nail art that breaks all the traditional rules? Abstract nail art is perfect for self-expression. It lets you turn your nails into miniature masterpieces. Whether you’re a beginner or an experienced nail enthusiast, creating stunning geometric nail designs is easier than you might think.
Abstract nail art is all about embracing imperfection and letting your imagination run wild. Unlike traditional nail designs, this style gives you the freedom to experiment with unexpected color combinations and unique patterns.
Geometric Shapes and Lines
Start your abstract nail art journey by exploring geometric designs. These patterns can be surprisingly simple to create:
- Use thin striping tape to create clean, sharp lines
- Experiment with triangles, squares, and asymmetrical shapes
- Combine different geometric elements for complex designs
Freeform Patterns
Freeform nail patterns allow for ultimate creative expression. Try these techniques to develop your abstract style:
- Use a thin brush to create organic, flowing lines
- Blend colors using a sponge for soft, ethereal effects
- Mix different textures and finishes for depth
Color Blocking Techniques
Color blocking is a powerful technique in abstract nail art. Create striking designs by:
- Choosing bold, contrasting color palettes
- Separating sections with precise lines or curves
- Playing with negative space to add visual interest
Remember, the beauty of abstract nail art lies in its uniqueness. Don’t aim for perfection – embrace your individual style and have fun experimenting!
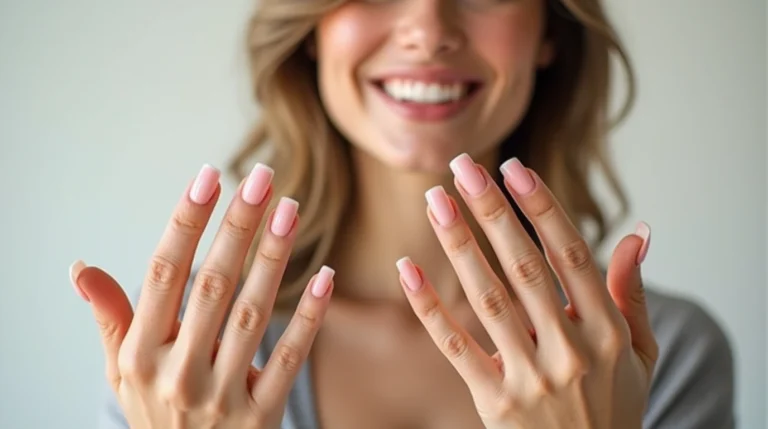
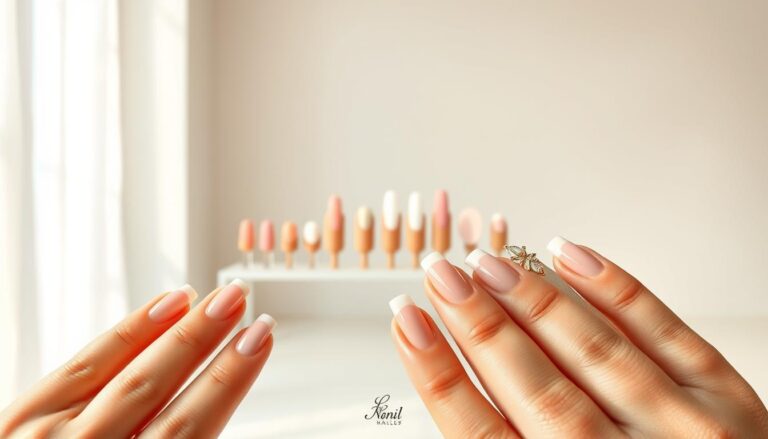
Modern Takes on French Tips for Summer

Summer French manicures are getting a bold new look. Say goodbye to plain white tips. Now, colorful French tips are all the rage, showing off your unique style and summer vibe.
Explore new ways to make this classic nail design pop for your summer look:
- Rainbow-inspired colorful French tips
- Neon edge designs
- Pastel gradient variations
- Metallic and glitter tip accents
You don’t need to be a pro to get this look. With a few simple steps, you can give your nails a summer makeover. First, pick bold colors that match your skin and style.
Try mixing colors like coral and mint, or lavender and yellow. These bold tips can make your nails a standout summer accessory, showing off your creativity.
Pro tip: Use thin nail tape or guide strips for sharp lines. This trick makes your French manicure look pro, even if you’re new to nail art.
- Best colors for summer French tips:
- Electric blue
- Bright coral
- Sunshine yellow
- Pastel mint
Jump into the summer nail art trend. Turn your classic French manicure into a fun, eye-catching statement that gets everyone’s attention!
Incorporating Trendy Summer Colors and Patterns
Summer nail colors are bold and vibrant, capturing the season’s energy. Your nails can show off your creativity with tropical nail art. This turns your manicure into a stunning accessory for your summer look.
Discovering the latest nail trends can make your beach-inspired nails stand out. This season, nail art is all about being bold and trying new things. It’s about mixing colors and designs in exciting ways.
Neon and Pastel Combinations
Combining neon and pastel colors makes for a striking summer manicure. Try these bold combinations:
- Neon yellow with soft lavender
- Electric pink with mint green
- Bright orange with baby blue
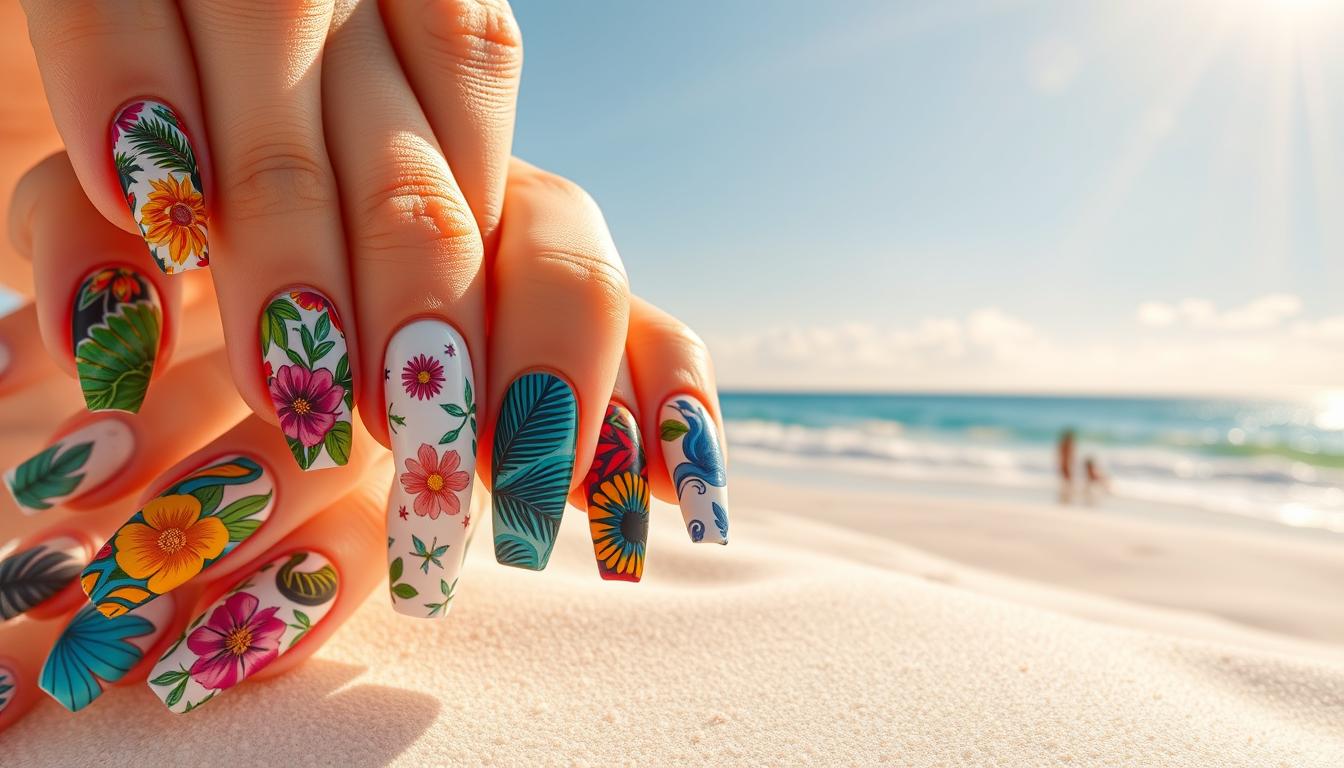
Tropical Motifs and Designs
Bring the beach to your nails with tropical art. Think about adding:
- Pineapple silhouettes
- Palm leaf patterns
- Watercolor sunset gradients
Beach-Inspired Elements
Get the summer vibe with beach-themed nail designs. Some great ideas include:
- Wave patterns in blue and white
- Seashell and starfish accents
- Sandy texture nail polish effects
| Color Trend | Recommended Technique | Difficulty Level |
|---|---|---|
| Neon Pastels | Gradient Blending | Intermediate |
| Tropical Motifs | Stencil Designs | Advanced |
| Beach Elements | Watercolor Painting | Beginner |
Pro tip: Always start with a solid base coat. Use thin brushes for detailed tropical nail art. Experiment and enjoy making your perfect summer nail look!
Advanced Summer Nail Art Techniques

Ready to elevate your summer nail art? Advanced nail art needs precision, creativity, and special techniques. These can turn your manicure into something amazing. Summer nail art lets you try bold designs and detailed patterns.
Professional nail artists say mastering these advanced techniques is key. They help take your summer nail designs to the next level:
- Gradient Techniques with Makeup Sponges
- Detailed Brushwork Strategies
- Multi-Technique Design Combinations
- Advanced Color Blending Methods
Success in advanced nail art comes from patience and steady hands. Begin with simple designs and then get more complex. Use thin brushes for fine details. Also, get high-quality tools for better summer nail art.
| Technique | Difficulty Level | Required Tools |
|---|---|---|
| Sponge Gradient | Intermediate | Makeup sponge, multiple polish colors |
| Detailed Line Work | Advanced | Ultra-thin brush, steady hand |
| Color Blocking | Intermediate | Painter’s tape, contrasting colors |
Practice is essential for mastering advanced nail art. Don’t worry if your first tries aren’t perfect. Every design helps you get better at creating beautiful summer nails.
Maintaining Your Summer Nail Designs
Summer is a great time for fun nail art. But, keeping your nails looking good needs some care. With the right steps, your manicure can stay beautiful through beach trips and outdoor fun.
Keeping your nail art safe from summer’s effects is key. Sunlight, saltwater, chlorine, and humidity can harm your designs. It’s important to know how to protect them.
Protection Tips for Long-Lasting Results
- Apply a high-quality top coat every 2-3 days to seal and protect your nail design
- Wear gloves during water-intensive activities like swimming or cleaning
- Use a UV-protective top coat to prevent color fading
- Carry a small nail repair kit for quick touch-ups
Touch-Up Techniques
Keeping your nails looking good doesn’t have to be hard. A few quick fixes can make your manicure last longer:
- Keep a small bottle of matching polish for instant repairs
- Use nail polish remover pens for precise corrections
- Smooth out small chips with a gentle buffing technique
Nail Care in Summer Conditions
Keep your nails safe from summer’s harsh weather. Use cuticle oil and hand cream often to prevent dryness. Choose nail polishes that are breathable and won’t chip easily.
Creating Unique Ombre and Gradient Effects
Summer nails get a boost with ombre nails and gradient art. These styles turn simple manicures into stunning works of art. They capture the season’s lively vibe. Whether you’re new or skilled, learning these styles is fun and easy.
To make stunning gradient nail art, you’ll need some basic tools:
- Makeup sponge
- Multiple nail polish colors
- Base coat
- Top coat
- Nail cleanup brush
For perfect ombre nails, pick colors that go well together. Soft pastels, bright neons, or calm neutrals are great for summer. Start with a solid base color. Then, use a makeup sponge to mix and match your gradient shades.
| Technique | Difficulty Level | Time Required |
|---|---|---|
| Classic Vertical Gradient | Beginner | 15-20 minutes |
| Diagonal Ombre | Intermediate | 25-30 minutes |
| Multi-Color Gradient | Advanced | 35-45 minutes |
Pro tip: Try your hand on paper before doing your nails. It helps you get the hang of blending colors and using the sponge. Remember, imperfection is part of the art. Each gradient will be uniquely yours!
Conclusion
Your summer nail journey doesn’t end here. Exploring DIY nail art opens up a world of creative possibilities. It can transform your style with just a few simple tools and techniques. Summer nail inspiration is all about expressing your unique personality through vibrant colors and playful designs.
Remember, practice makes perfect when it comes to nail art. Each design you attempt will help you build confidence and skill. Whether you’re trying geometric patterns, ombre effects, or tropical-inspired motifs, the key is to enjoy the process and not be afraid to experiment with different styles.
The beauty of summer nail designs lies in their versatility. You can switch up your look as often as you want, creating fresh summer nail inspiration right from your home. With the techniques you’ve learned, you’ll be able to create professional-looking manicures that showcase your creativity and match your summer mood.
Embrace your newfound DIY nail art skills and let your nails become a canvas for self-expression. Your summer style starts with a splash of color and a touch of imagination.